In Hurumanu 6, we have been focusing on researching a person that is a real hero or villain. I chose Barack Obama and here is the timeline that I made using Piktochart:
Here is a poster that I made about Kate Sheppard. I used Canva.:
I am a student at in Uru Mānuka. In 2020 I was a year 9 and in 2021 I will be a year 10. This is a place where I will be able to share my learning with you. Please note....some work won't be edited - just my first drafts, so there may be some surface errors. I would love your feedback, comments, thoughts and ideas.
Wednesday, 24 June 2020
Monday, 22 June 2020
PE Questions
Hi guys, for today’s blog post, I’m going to be answering some Questions the was given to us in class. There are only 3 questions plus an extra one for Homework. Also, I have decided to include the Homework because I think it’s way easier. Anyway, enough with the talking and here are the questions:
PE Questions
- Who invented Basketball and what was his occupation?
James Naismith and he was a Teacher, Professor and a Coach.
- Where and when did the word marathon originate?
It originated from Ancient Greece in 490BC.
- Who designed the Modern Olympics?
Baron Pierre de Coubertin
HOMEWORK:
This year the Olympics have been postponed, which other Olympics have been cancelled?
Since the opening of the first modern Olympic Games in 1896, the international sports competition has only been canceled three times: once during World War I (1916) and twice during World War II (1940, 1944)
Mini Pastry Savouries - Home Economics
Mini Pastry Savouries
Last Friday for Home Economics, we made some Mini Pastry Savouries. It was very easy to make and also so yummy. Our one needed 3 eggs to make so if you ever run out of the egg mixture, just make another mixture with the same ingredients. The end product looked and tasted so delicious. The egg in the inside was so chewy and tasty as well. The outside part was so crispy and flaky which I liked.
1/2 sheet pre rolled pastry
Last Friday for Home Economics, we made some Mini Pastry Savouries. It was very easy to make and also so yummy. Our one needed 3 eggs to make so if you ever run out of the egg mixture, just make another mixture with the same ingredients. The end product looked and tasted so delicious. The egg in the inside was so chewy and tasty as well. The outside part was so crispy and flaky which I liked.
1/2 sheet pre rolled pastry
Ingredients:
- 1/2 sheet pre-rolled pastry
- 1 egg
- salt
- 1T Milk
- Diced Bacon
Method:
- Using pastry cutters, cut circles to fit patty pans. Chill in the fridge.
- Mix: 1 egg, pinch of salt, and 1T milk.
- Whisk together with a fork.
- Transfer egg mixture to a measuring cup.
- Carefully pour egg mixture into each case. Make sure you don't spill any.
- Bake at 200 Celsius for 8-10 minutes.
- Let it cool and enjoy it.
Tuesday, 16 June 2020
How to make a Name Tag? - Creative Manufacturing
How to make a Name Tag
So for today’s blog post, I’m going to be telling you guys How to make a Name Tag. We’ve been focusing on how to make these for 8 weeks now and have finally finished on making it. I’m going to show you what my one looks like by the end of this Blog.
- The first thing that you have to do is to get a piece if Aluminium and cut it. The width of it must be 45 cm and the length should be about 20 cm.
- Once you’ve finished cutting it, just get a file and file the sides of the Aluminium. You could file the corners of it to make a shape or just leave it as it is. If you want, you could also get a sandpaper and sand along the sides of the Aluminium
- After you have done that, you will now need a ruler and find a place where you can drill the hole. You could either drill it on one of the corners of the Aluminium or the middle of the side. After you’ve marked it, carefully drill a hole on it. Make sure it’s on the mark that you’ve made.
- The next thing that you need to do is to Polish. You need to use a buffing machine for that. The First thing that you do is to put a face shield on to protect your face in case the Aluminium flies off of your hand. Then you need something to hold your Aluminium with because it gets hot because of the Polisher. Then you put a clay polish onto the buffing wheel then you start polishing. I suggest that you keep on moving the Aluminium up and down while polishing it so that it would be much easier and quicker.
- The last and final thing that you need to do is to Nail stamp some letters on it. You could stamp any letters you want on it. It could be your name, your initials or just a letter.
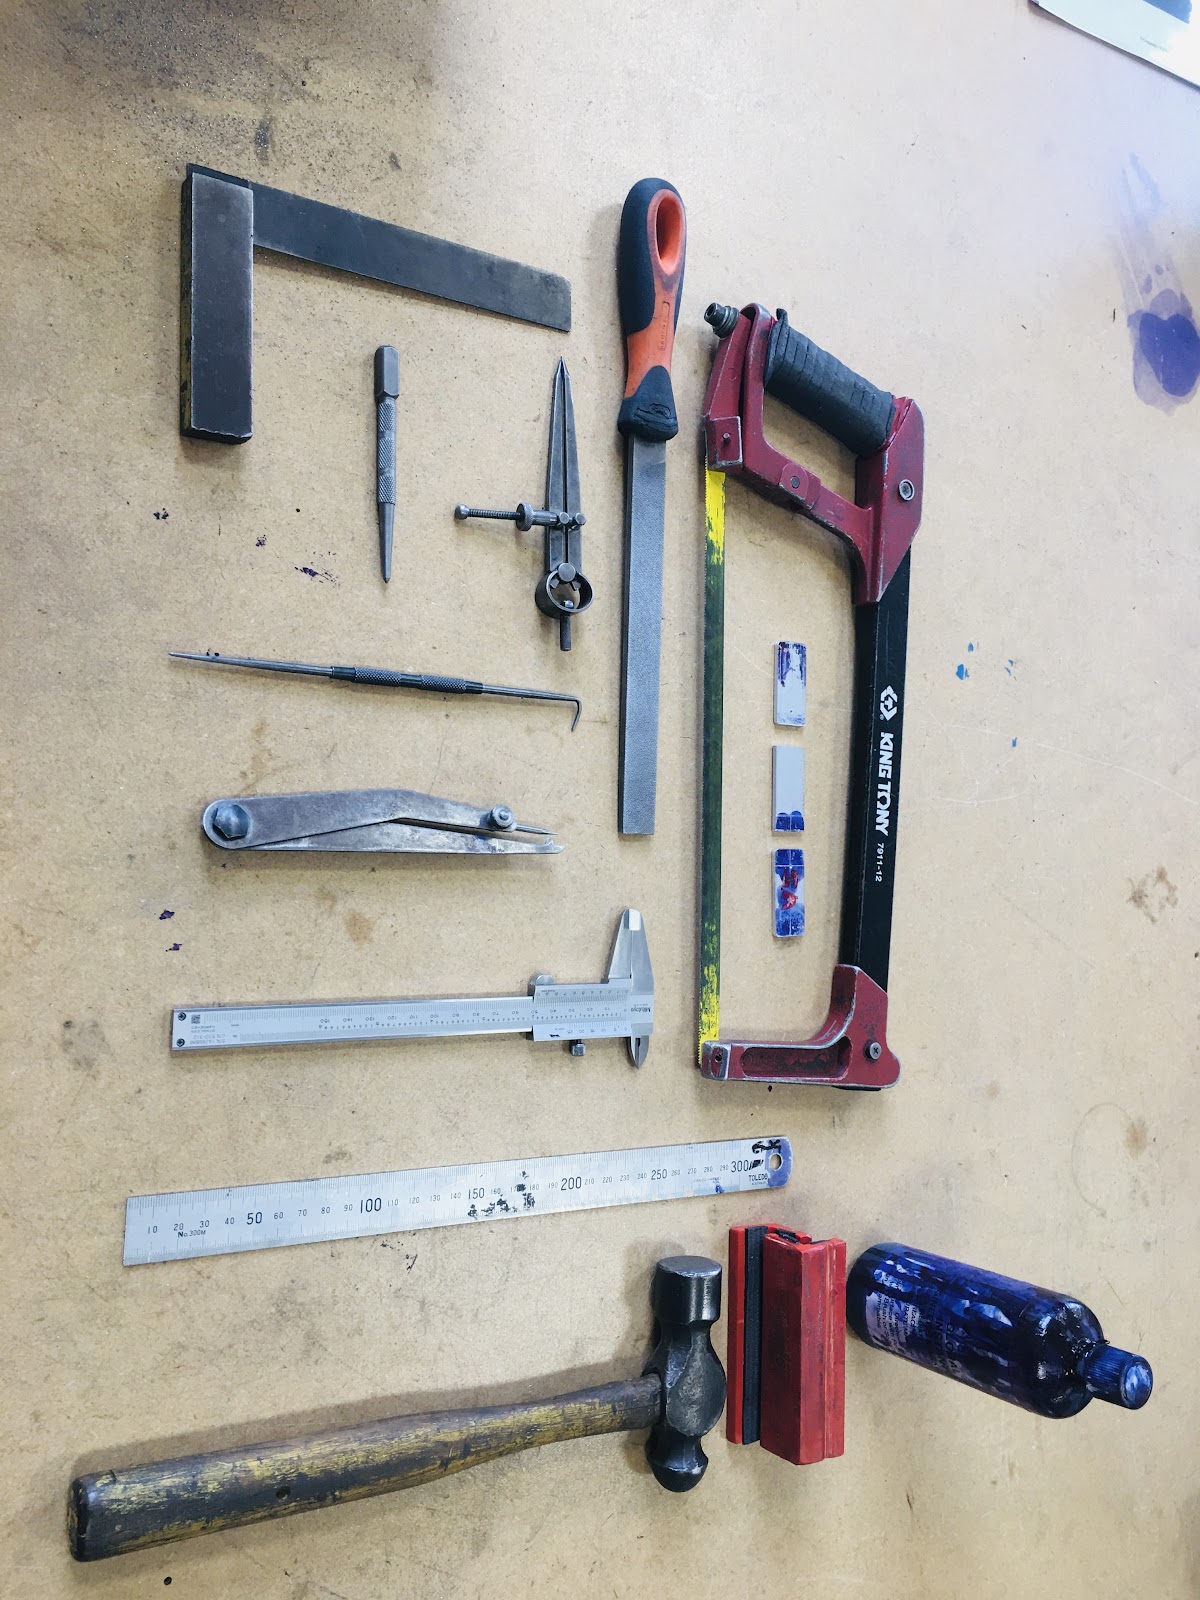
Here is a photo of the things that we used to make it with:
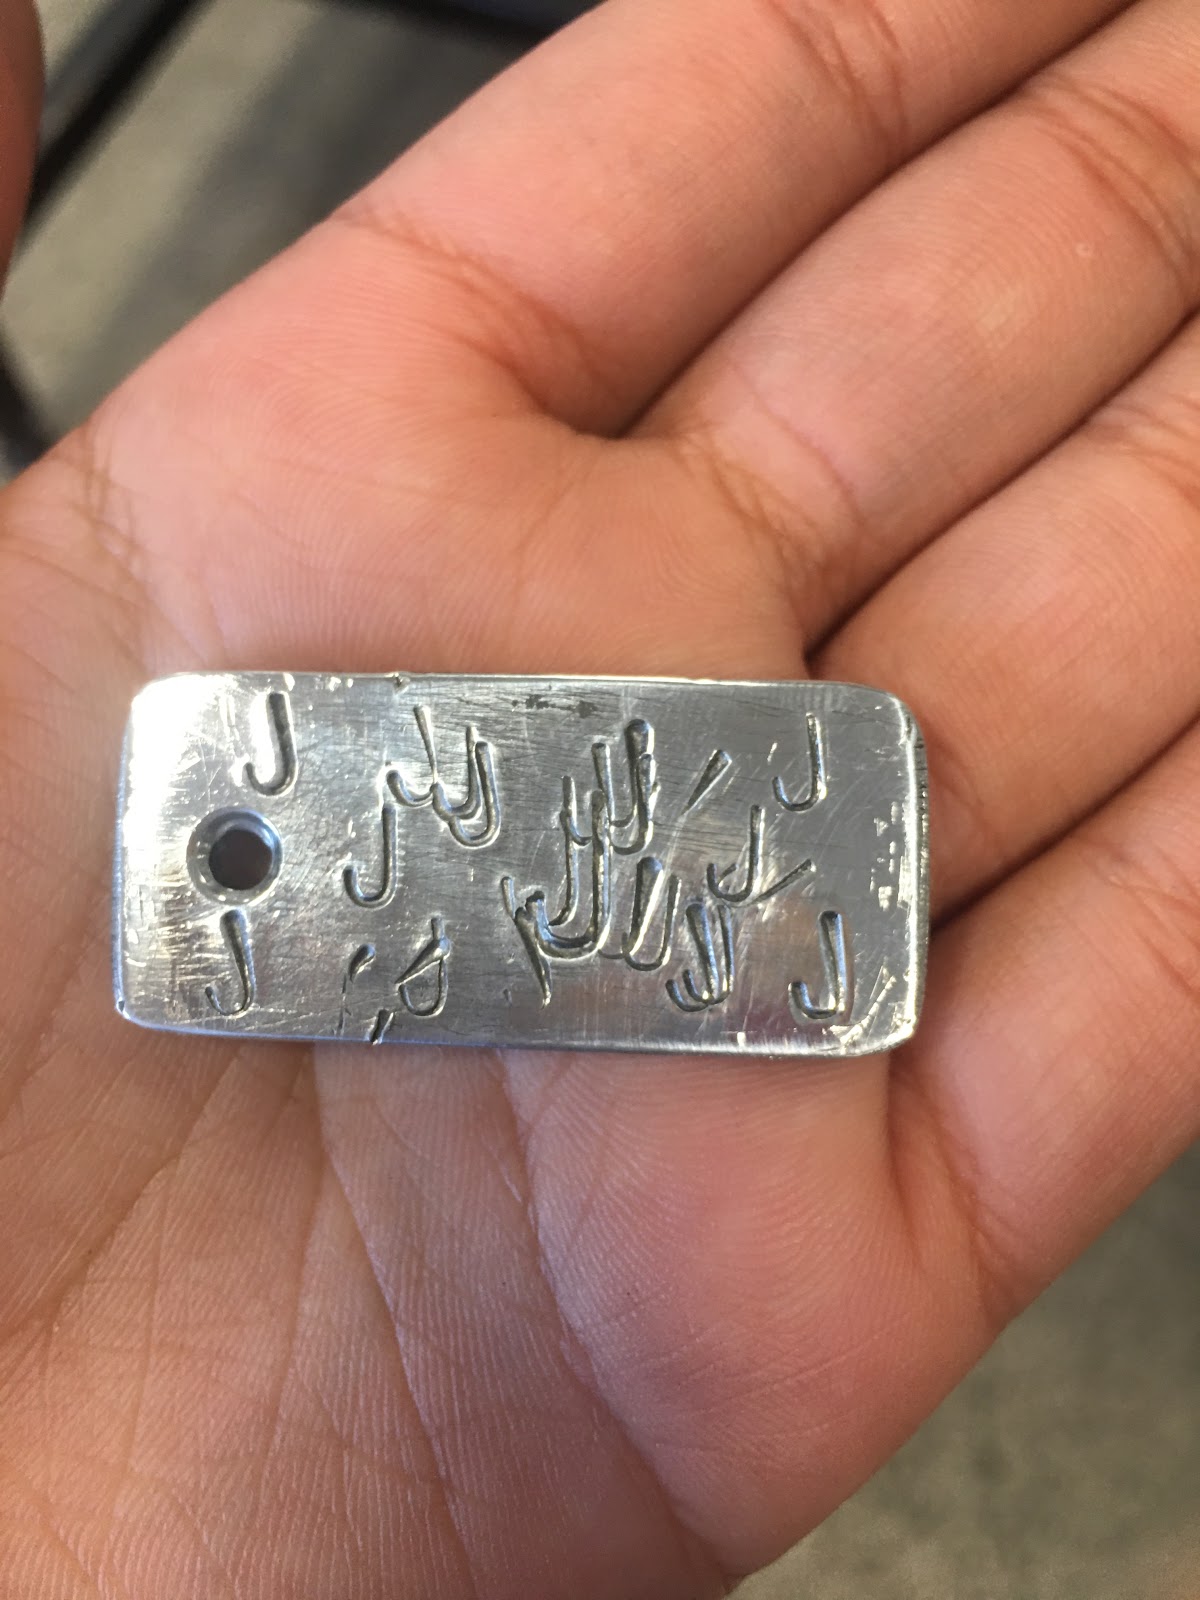
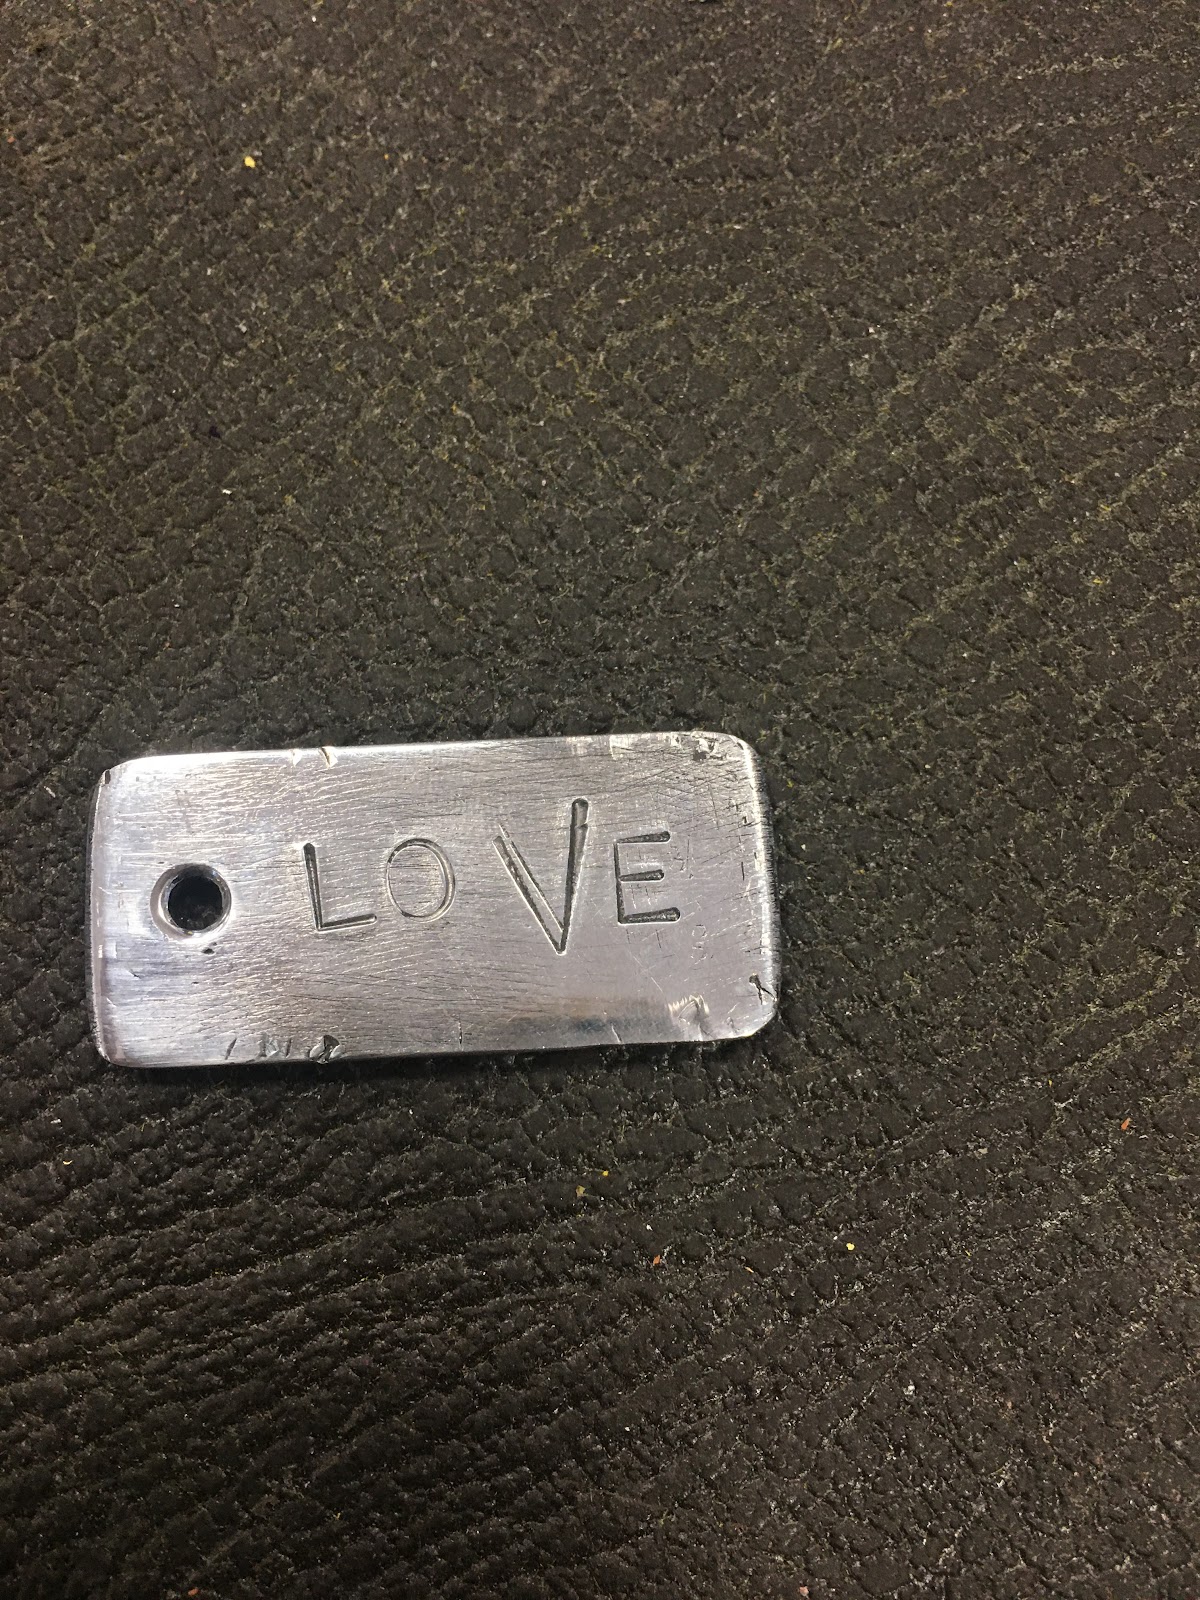
Here is what my one looks like:
Sunday, 14 June 2020
Pikelets - Home Economics
Pikelets
Hi guys, this Blog post is going to be about Pikelets that we cooked last week. Pikelets are similar to Pancakes, they are cooked the same but the size and texture are different. I would say that the Pikelets are much thicker and softer that the Pancake due to the fact that you have to whisk it till it's thick and pale. We got to taste the first Pikelets that we made before we proceeded on cooking the rest of the mixture. The taste of it was balanced and the texture was really soft and chewy. Anyways, here are the Ingredients and the steps on how to make Pikelets.
Ingredients:
1 c Plain Flour
1 t Baking Powder
1/4 t Salt
1 Egg
1/4 c Sugar
3/4 c Milk
Method:
Sift the flour, baking powder, and salt into a big bowl. In an smaller bowl, beat the egg and sugar with a whisk until it turns thick and pale. I suggest that you do this first because it's gonna take a while. Now once the egg mixture turns thick and pale, add in the dry ingredients. Add the milk in as well but pour in on the side of the bowl and not on the middle, because all the air bubbles that are in the egg mixture will disappear and the finish product won't be as fluffy as it should be. Once you've added all the ingredients together, gently mix it until it's all combined.
Now, it's time to cook. Gently heat a non stick frying pan over medium heat and add or brush with a little melted butter. Drop tablespoonfuls of the mixture from the point of the spoon onto the surface. When bubbles start to burst on the top of the pikelets, turn them over and let the other side cook until golden. Once you've finished cooking all of it, place them on a cooling rack. Now you're all done. You could put some Nutella or some kind of jam on top of it if you want to.
Here are some photos while making it and also the finish product:

Now, it's time to cook. Gently heat a non stick frying pan over medium heat and add or brush with a little melted butter. Drop tablespoonfuls of the mixture from the point of the spoon onto the surface. When bubbles start to burst on the top of the pikelets, turn them over and let the other side cook until golden. Once you've finished cooking all of it, place them on a cooling rack. Now you're all done. You could put some Nutella or some kind of jam on top of it if you want to.
Here are some photos while making it and also the finish product:

Sunday, 7 June 2020
Chocolate Chip Cookies
Chocolate Chip Cookie

Ingredients :
1/2 cup of White Sugar
1/2 cup of Brown Sugar
1 Egg
1 tsp of Vanilla Essence
1 1/2 cups of Flour
Pinch of Salt
1/2 tsp of Baking Powder
1/2 cup of Chocolate Chips
Method :
Cream the butter until it's soft and fluffy then add both Sugars in and start creaming together.
Beat the egg then add the Vanilla Essence. Once their both mixed in, add it in with the Dry ingredients. Add the Chocolate Chips in as well.You could sift the Dry Ingredients together if you want.
After all of that, roll them into 12 even sized balls and make sure that it's not too wet. Once your done rolling them, put them onto the baking pan and spread them out evenly.
After that, put them in the Oven and let them cook for 10 - 15 minutes. The temperature should be set on 180 Celsius and on Bake. In the recipe, it says to only bake it for 8 - 10 minutes. But we changed the cooking time because this recipe could make up to 15 cookies, and we only made 12 so that means it's much bigger that usual. Here are some pictures of it while cooking.
<--Here is what the finish product looks like -->
So by the end of the lesson, we got to taste one of the cookies that we made. It tasted so delicious. It was crispy on the outside and soft in the inside. It was very chewy as well. The sweetness of it was balanced and every bite that you take will make you want more. I think it was one of the easiest food that we made in Home Economics and will definitely make some more in the future.
Friday, 5 June 2020
Name tag - Creative Manufacturing
Creative Manufacturing
For Creative Manufacturing, we have been focusing on making a Name Tag. We have been planning on making this since Last and there are just a little bit more things for us to be finally finished. The things that I have to do is to Nail Punch it on the hole, Polish it and to Stamp it.
Here is my work along with my other friends work:
My one is the top one.
Subscribe to:
Posts (Atom)